Friday, June 8, 2012

Land N Sea Windows - Part 2

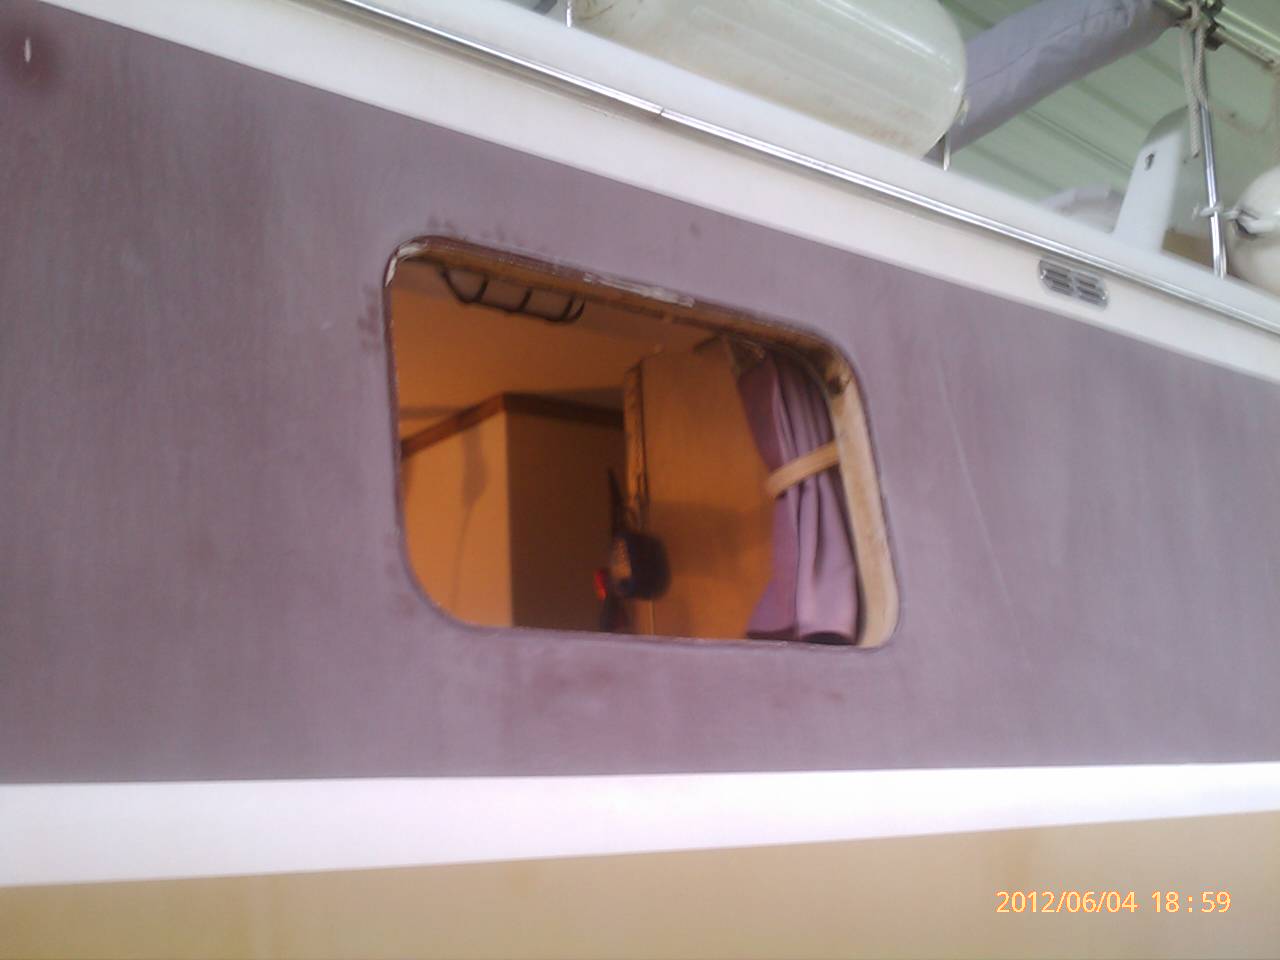
After having a good look at the hole and removed window, I came up with a plan.
I'd remove the windows one at a time, make a template from the hole, recaulk the window and put it back in. I'd use butyl tape for the 'caulk'. After a few trips in the rain, I'd know whether I needed to buy new windows or whether my re-sealing had gotten the job done.

On the first window, I removed the 'felt channel run', which was loops of 'U' shaped stainless wire with only thin random attachments of fabric

then realized that I'd probably have to remove some rivits and open up the frame to get the new channel run in...bummer -- not something that I wanted to do. I ordered some unbeaded all rubber felt. Maybe I can get it in without removing the window. I'll post the model number if it works. I think I'm just going to reseal the other windows without messing with the felt or cosmetic inserts.

First thing to do, is remove the screws that broke off when the clamping ring was undone. I've got a tiny pair of Vice Grips which I modified by grinding the nose to a V which clears the channel for more rotational movement. 


Then after some heat to the frame/screw

and some penetrating oil (I use a 50/50 mix of ATF and Acetone) all one needs is some judicious wiggling to get the old broken screw out.

I may feel differently about this approach depending on how many I have to do. Drilling new holes is an option.

Messing with the window on the bench is impossible - holding it and the glass while trying to get anything done is awkward. I put the window lightly in the vice.


Next, after pulling out all the felt, I needed to clean up the channel. A screwdriver pushing Scotchbrite gets the job done quite nicely.

Before I ordered the new channel run, I messed with some Velcro to see if I could make that work. It does work, either the hook or loop, but getting the sticky-back stuff in place is a monumental task and I didn't want to have to use any glue to keep straight fabric in place.

So now I'm waiting for the felt channel run, and pondering....I don't care if my windows leak, I just don't want them leaking inside the boat. Hmmmm.

Monday, June 4, 2012

Land N Sea Windows - Part I

All the windows on my '72 leak. It's not my intention to bring Big Duck back to her original state, but rather to make her comfortable and reliable. As she sits on her trailer today, she is quite acceptable despite the the intruding water...it's a mere inconvenience for the delight she provides on the water and on the road (on the trailer) in WalMart parking lots and Rest Areas on her way to distant lakes and rivers.

But, given that I'm retired, having time on my hands and having been accused of always looking for a better way, I'm destined to see if the leaky windows can be corrected. I pulled a small window in the galley today, to see how it's installed, sealed and what parts I'd need to make it better.

What I've learned so far, is that Big Duck's windows are secured by a simple clamping ring inside, and that in removing that ring some of the stainless screws are bound to break off at the head.

That the window is installed in a 2" wall, a sandwich of 1/4" of glass (outside), foam, and 3/8" of glass (inside). What a great way to incorporate positive floatation in a sound, light structure. 

Also, that the windows - at least the one I removed, is sealed by glazing putty - the kind you'd use on your house windows.

As of yet, I haven't decided what the best sealing approach will be, but I do know that:
a) the glazing putty is having trouble keeping the water out
b) the material that keeps the sliding pane in place is totally deteriorated
c) removing the glass from the frame can be complicated

More to come as I further indulge.

Sunday, June 3, 2012

After Memorial Updates

We don't have the setee table up unless we're going to use it. The wood part of the table is stored on the upper bunk bed.
The cushion is stored above the aft dinette backrest...a snap holding it in place even on the road.
The table post is stored in the head.
We discovered that while on the road, the boat often took on the aroma of the holding tank. This is presumably because the only barrier between the odor in the tank and the inside of the boat is the water in the drain traps. On the road with the grades, pavement irregularities and who knows what wind/pressure/vacuum dynamics at 55 mph, the trap water isn't enough. I tried the 1 3/4" commercial plugs and they fit nicely, but after a spell they work themselves up to a very casual, non-hermetic fit. 'Got some PVC pipe caps and turned a valley in them for an O-ring, then drilled a hole for a 1/4" bolt and put a hole in the head for a pull ring. They make a nice air tight plug...made one for each of the drains.


Put a post at the transom stairs. Suzy asked what it was for. I told her she'd know when she needed it. It's a natural place for a handhold and unlike a handle you don't have to worry about letting go or getting your fingers caught if you don't. I used a piece of clear plastic for the post, from a $1 drain plunger.
One more thing for now. There are indicator lights on the panel that indicate levels in the fresh water and holding tanks, but until Big Duck and I get to know each other better I'm not going to rely in them. Water tank level isn't critical as we'll be boating on fresh water and use the tank only for dishes and bathing...we float in enough fresh water to easily take care of those needs. For holding tank level, it's a no brainer. The head is a gravity feed directly into the holding tank. Open the head and put down a dip stick to check the level - or just shine a light in there and have a look?. The Poop (dip) Stick has a home in the shower.
And one last thing - I took off the nylon 3 strand that holds the transom steps in the proper position when down, and replaced it with vinyl covered stainless cable. This provides a much more positive stop and stows better although it is a little harder on the hands when pulling the steps up from the boarding position while in the water.
OK a couple more things to wrap it up.
Found some soft wood under this Dorade vent on the front deck. I bumped it with my foot while docking and it shattered so I thought I'd take it off and see about a replacement.
The glass is 1/2" thick so I'm not considering any repairs, especially since the wood is sound under the stanchions and cleat.

As far as I can tell, this Dorade ventilates the (forward) bilge - or maybe it is only for inside access to the forward port vent. I have to assume this vent is for the holding tank as the fuel and water tank vents have been verified.